

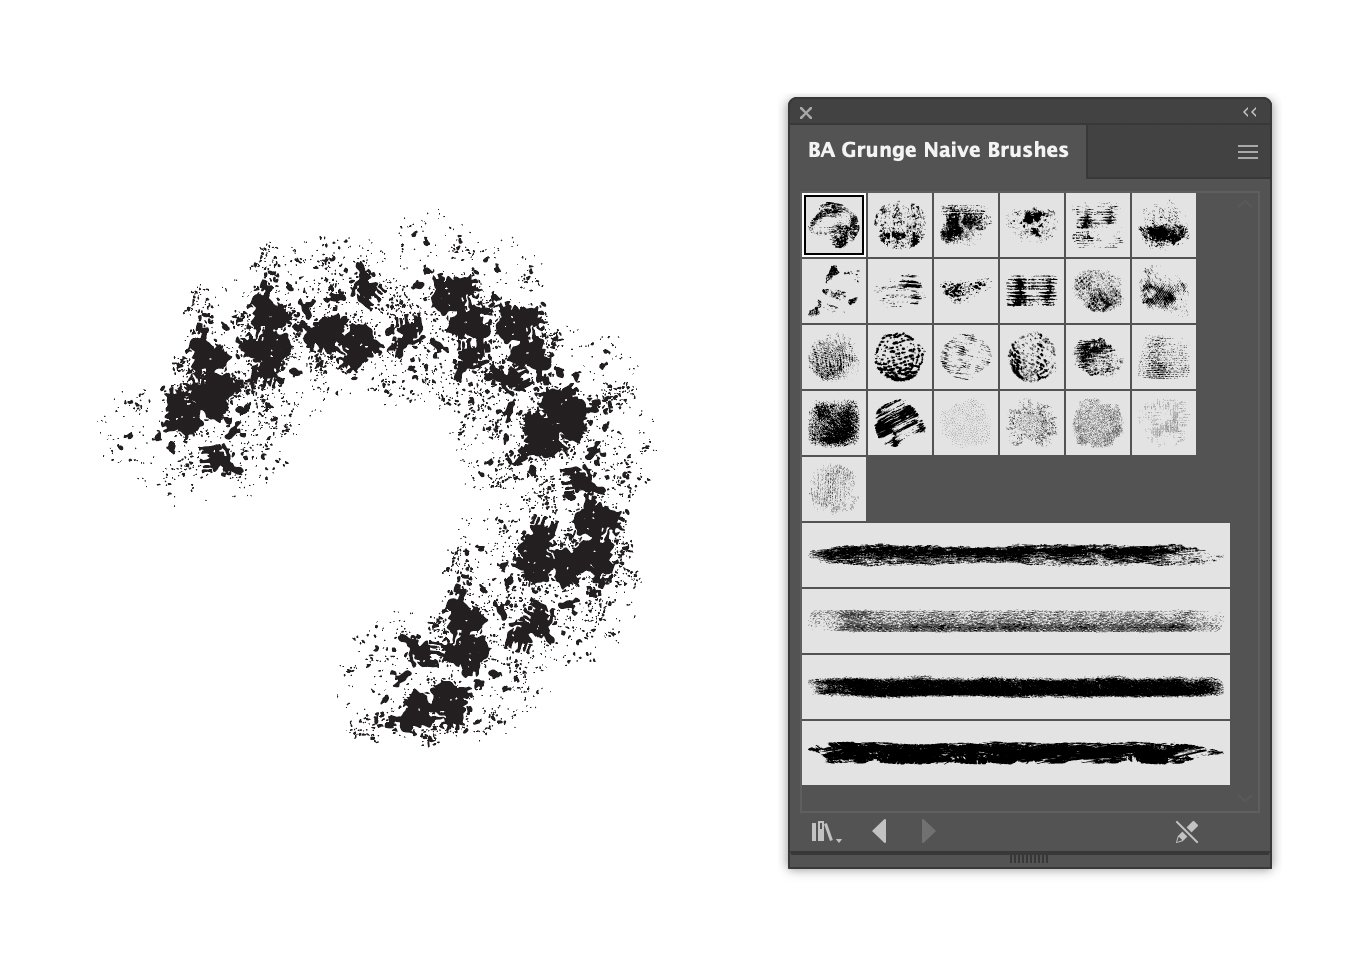
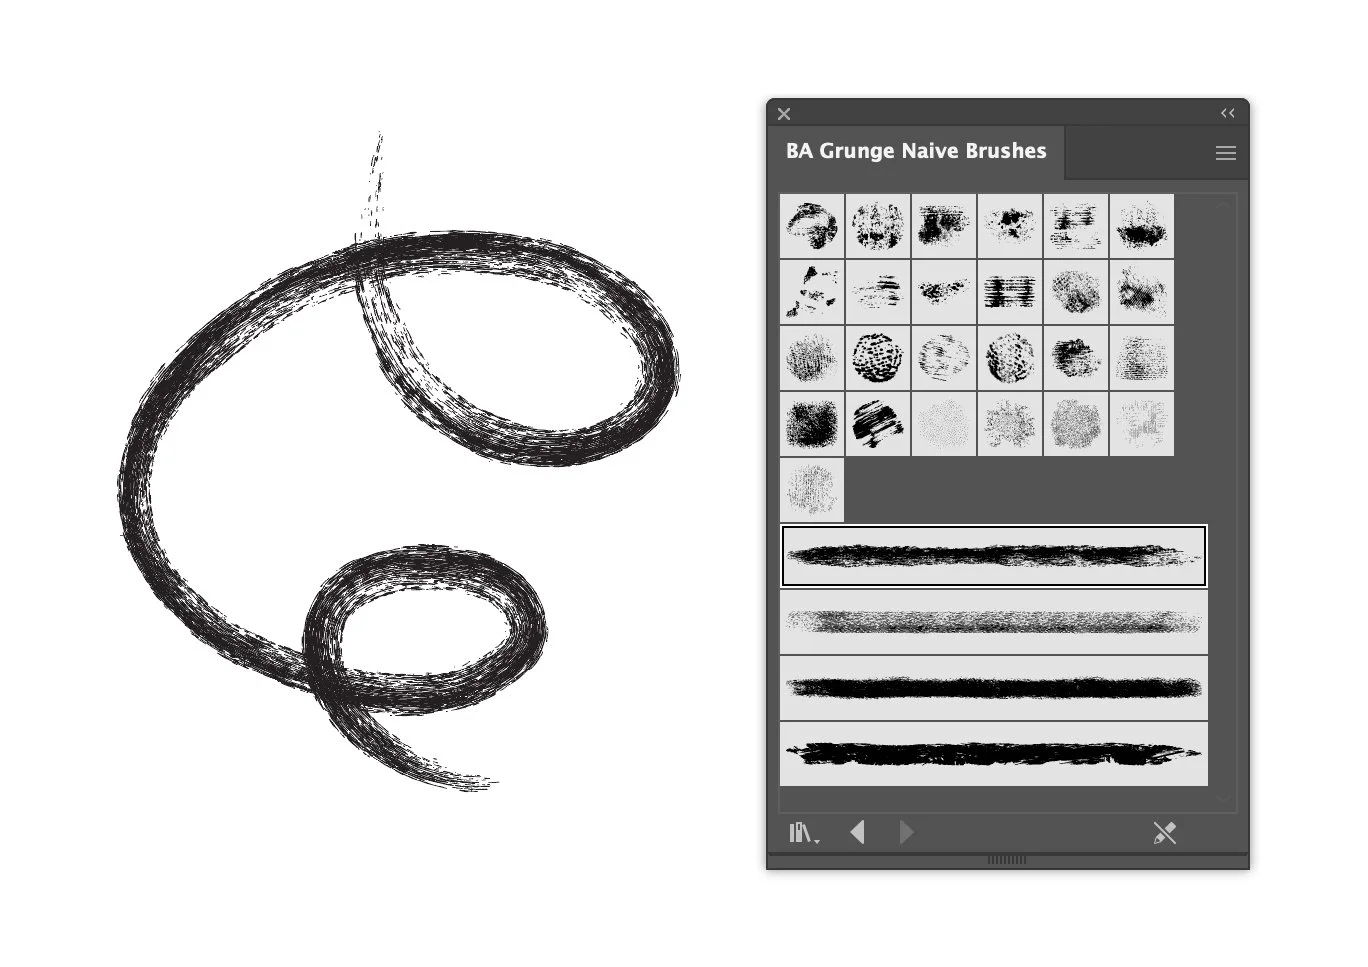
Naive Grunge Brushes
How to Install & Use Guide
Naive Grunge Procreate Brushes

Step 1
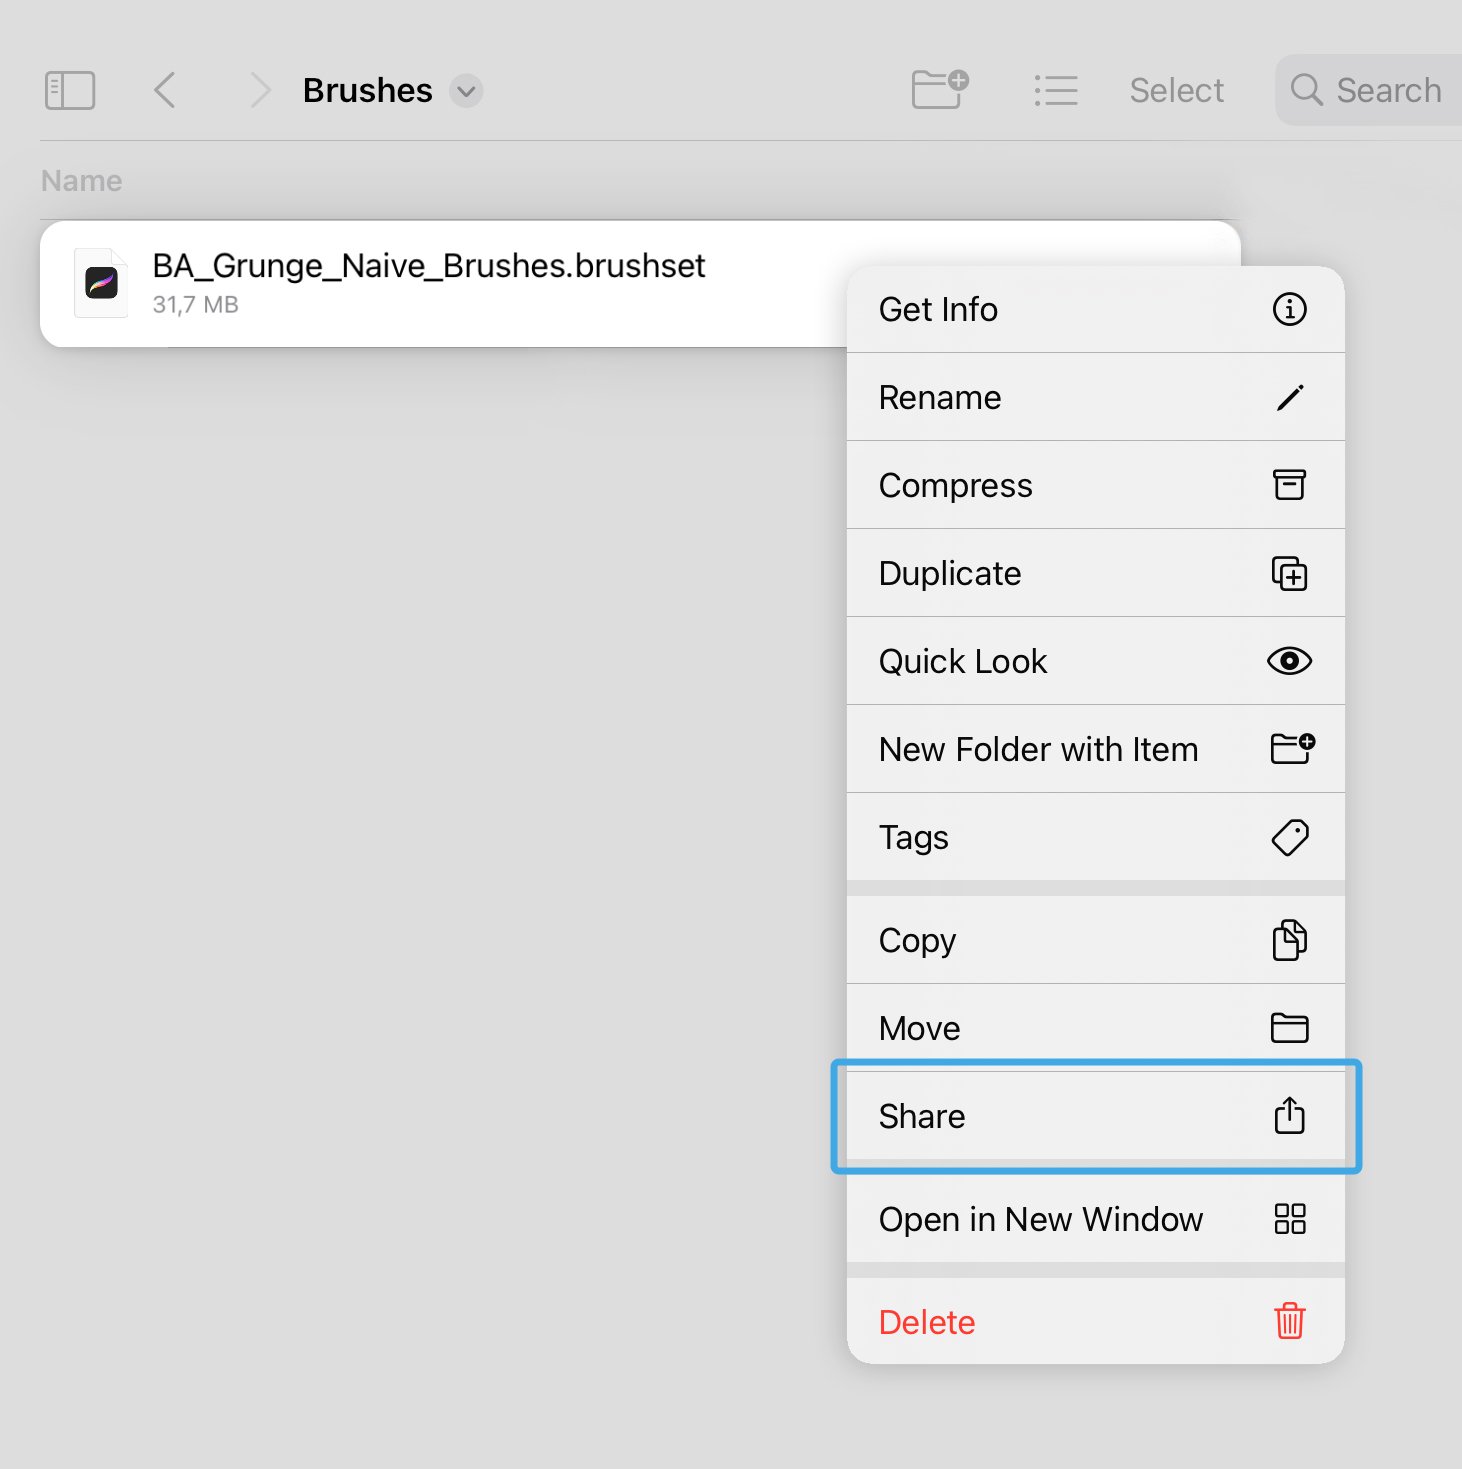
Locate and open the downloaded brushset file named:
BA_Grunge_Naive_Brushes.brushset
In the contextual menu choose and press Share button.
Step 2
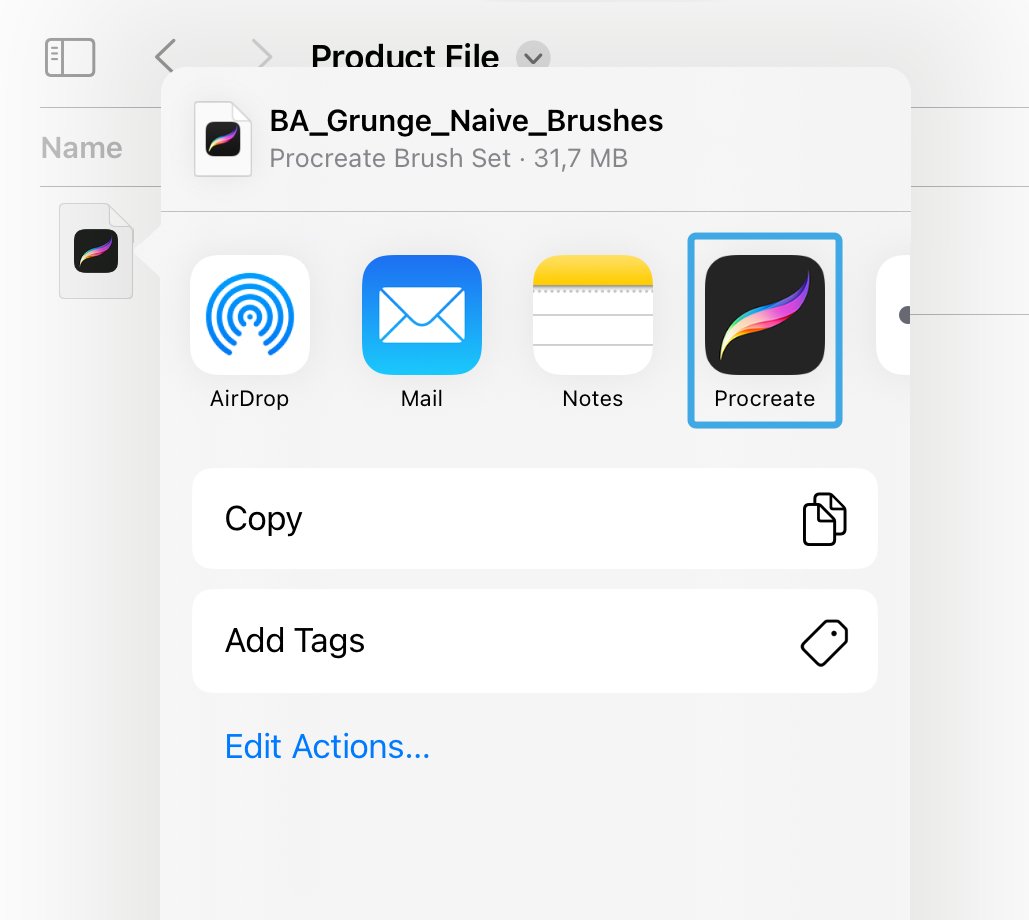
In the contextual menu choose and press Procreate app icon.
Naive Grunge Photoshop Brushes

Step 1
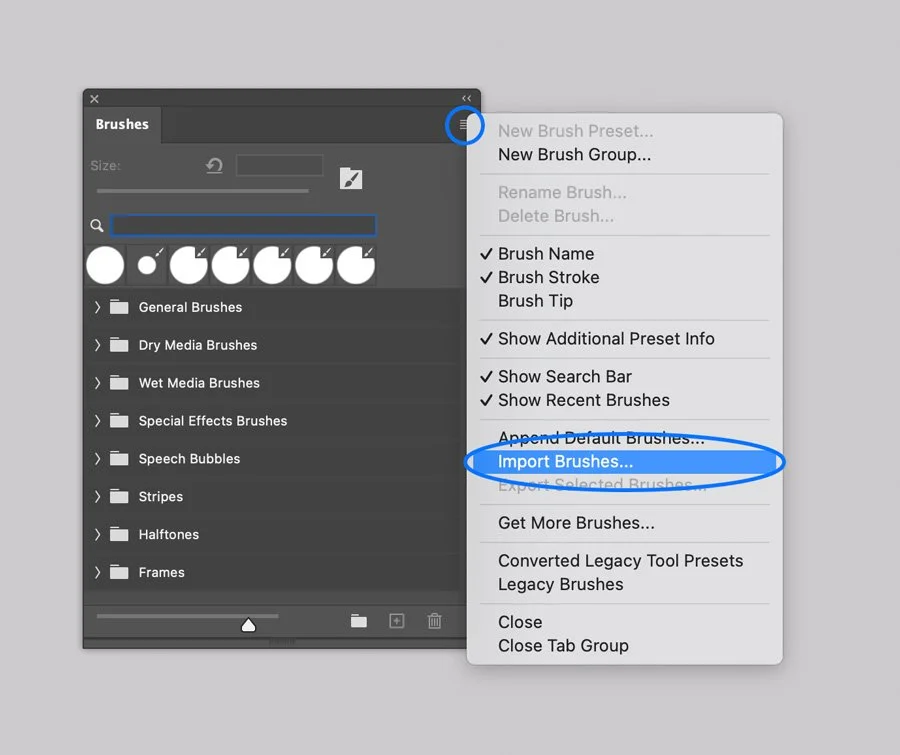
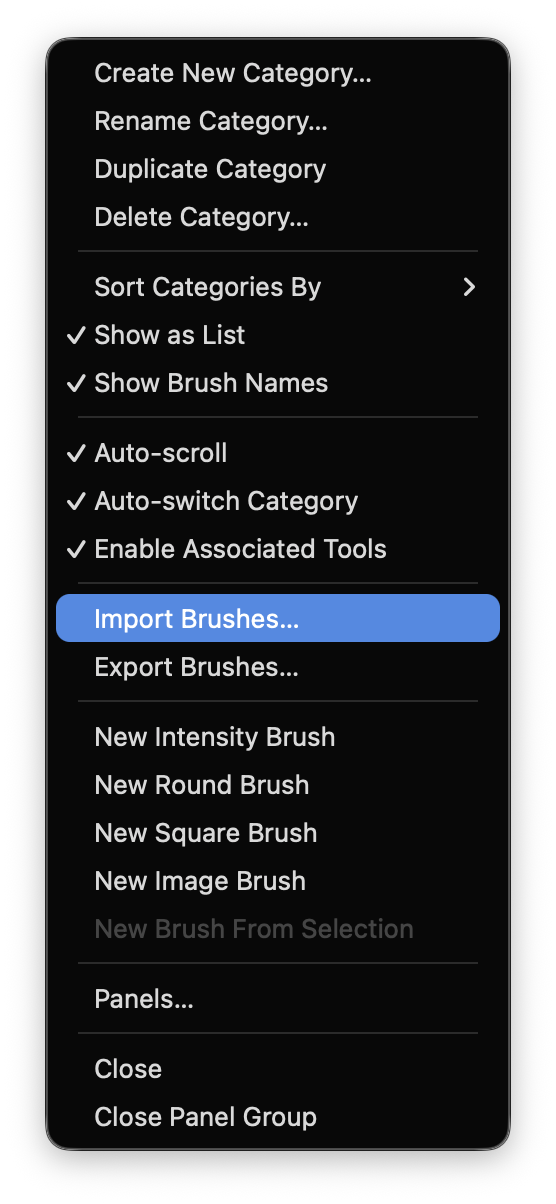
In Adobe Photoshop, Open the Brushes panel (Window > Brushes).
Click the panel's upper right corner button to open drop-down menu.
Step 2
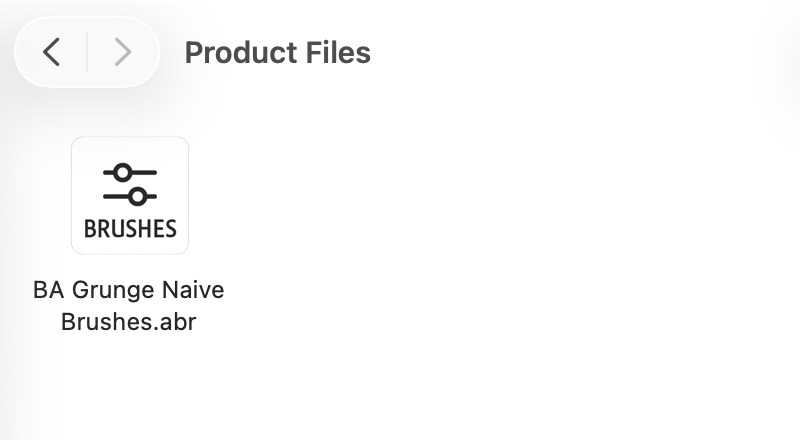
Select the Import Brushes option from the menu and browse the files named:
BA Grunge Naive Brushes.abr
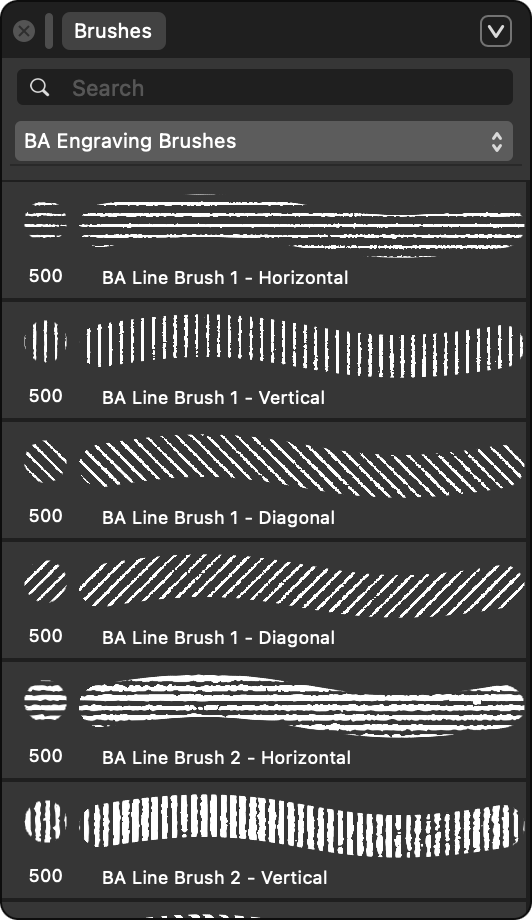
Naive Grunge Illustrator Brushes

Step 1
In Adobe Illustrator, open the Brushes panel (Window > Brushes, or F5).

Step 2
Open the Brush Libraries Menu in the bottom left of the Panel (the bookshelf icon).
Step 3
Select the Other Library option and browse the BA Grunge Naive Brushes.ai file.

Drawing with the Brushes
Select the Brush Tool from the Tools Menu (B).
Select one of the brushes on the Brushes Tab by clicking on it.
Draw a line.
Or, you can apply brushes to existing paths and shapes:
Select an existing line or vector shape with Selection tool (V).
Select one of the brush icons on the Panel, and it will be applied to your line.
Adjust the render by changing Stroke thickness in the Appearance panel.
Texturing and shading with scatter brushes in Adobe Illustrator can be a memory consuming process and may affect performance.
If you run an older machine (e.g., pre-2020) with less than 8GB of RAM, you may experience slower-than-usual performance.
Warning
Naive Grunge Affinity Brushes

Desktop. Step 1
In Affinity app go to Window > General > Brushes to make sure the panel is visible.
Desktop. Step 2
Click the panel menu (˅) and choose Import Brushes…
Desktop. Step 3
Locate and open the downloaded .afbrushes files titled:
BA Grunge Naive Brushes in Pixel Folder
BA Grunge Naive Brushes in Vector Folder

Tablet. Step 1
In Affinity Designer app open the Brushes panel.
Tablet. Step 2
Open the drop-down menu in the upper right corner of the Panel.
Tablet. Step 3
Select the Import Brushes option on the Menu and browse files on your device:
BA Grunge Naive Brushes in Pixel Folder
BA Grunge Naive Brushes in Vector Folder
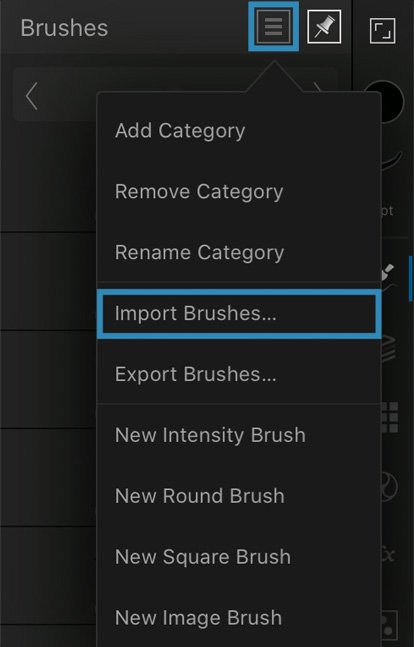
Naive Grunge Clip Studio Brushes


Desktop. Step 1.
In Clip Studio Paint open the Brushes Panel (Window > Sub Tool: Brush)

Desktop. Step 2.
Open the drop-down menu in the upper left corner of the Panel.
Select the Import sub tool option, and browse the brushes one by one.
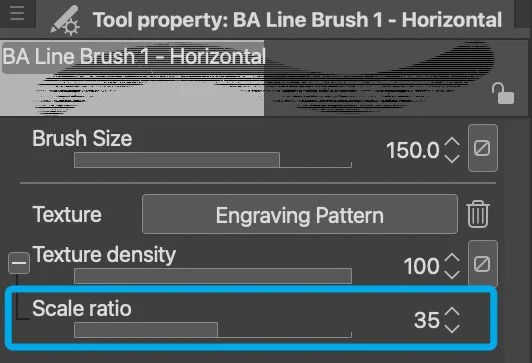
Desktop. Step 3.
You can adjust the texture Scale ratio to match your artwork perfectly.
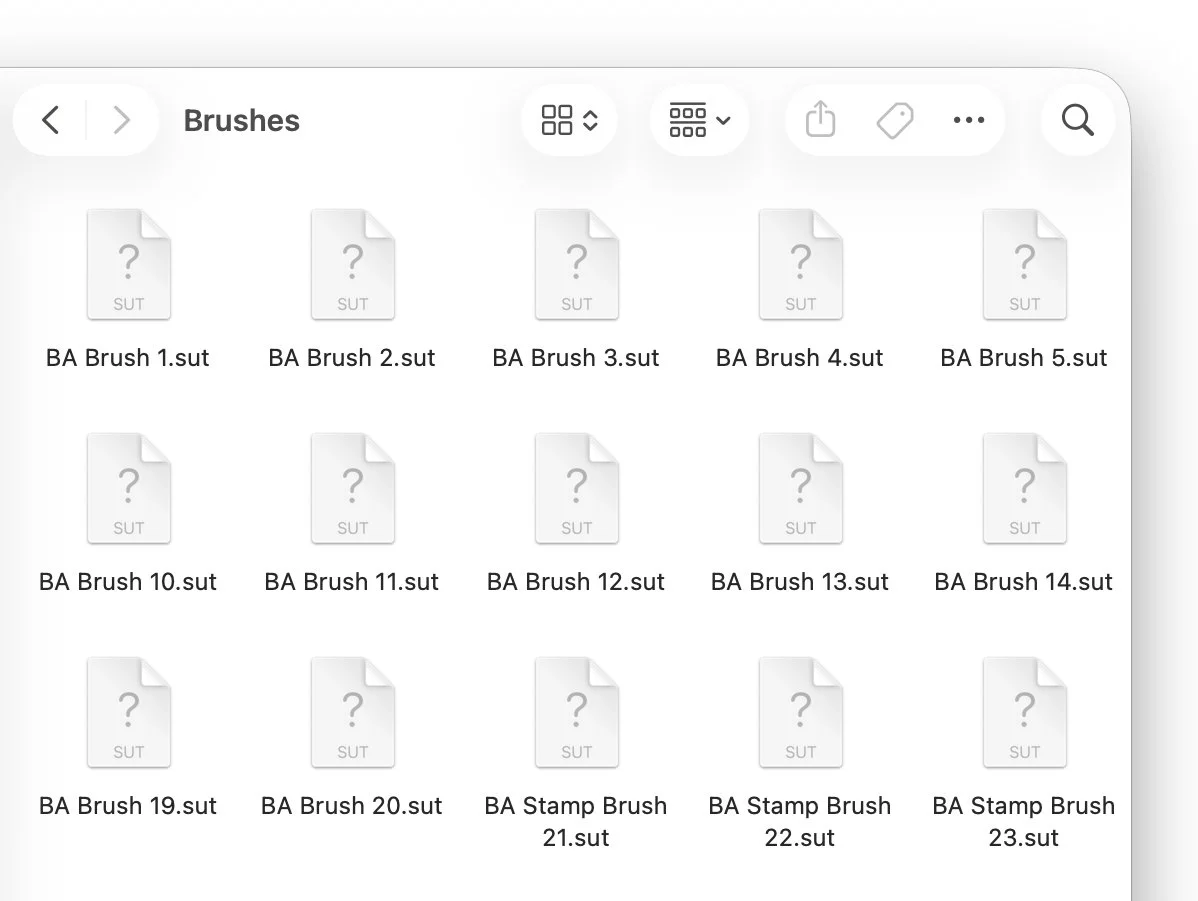
Tablet. Step 1.
Open the downloaded folder, and browse Product files named BA Brush 1.sut, BA Brush 2.sut, and so on.
Open the contextual menu on each brush, and select the Share option.

Tablet. Step 2.
Next, Select ‘Clip Studio’ icon to open the file. Repeat these actions for each brush file.