
How to Remove a Background in Procreate (5 Methods That Actually Work)
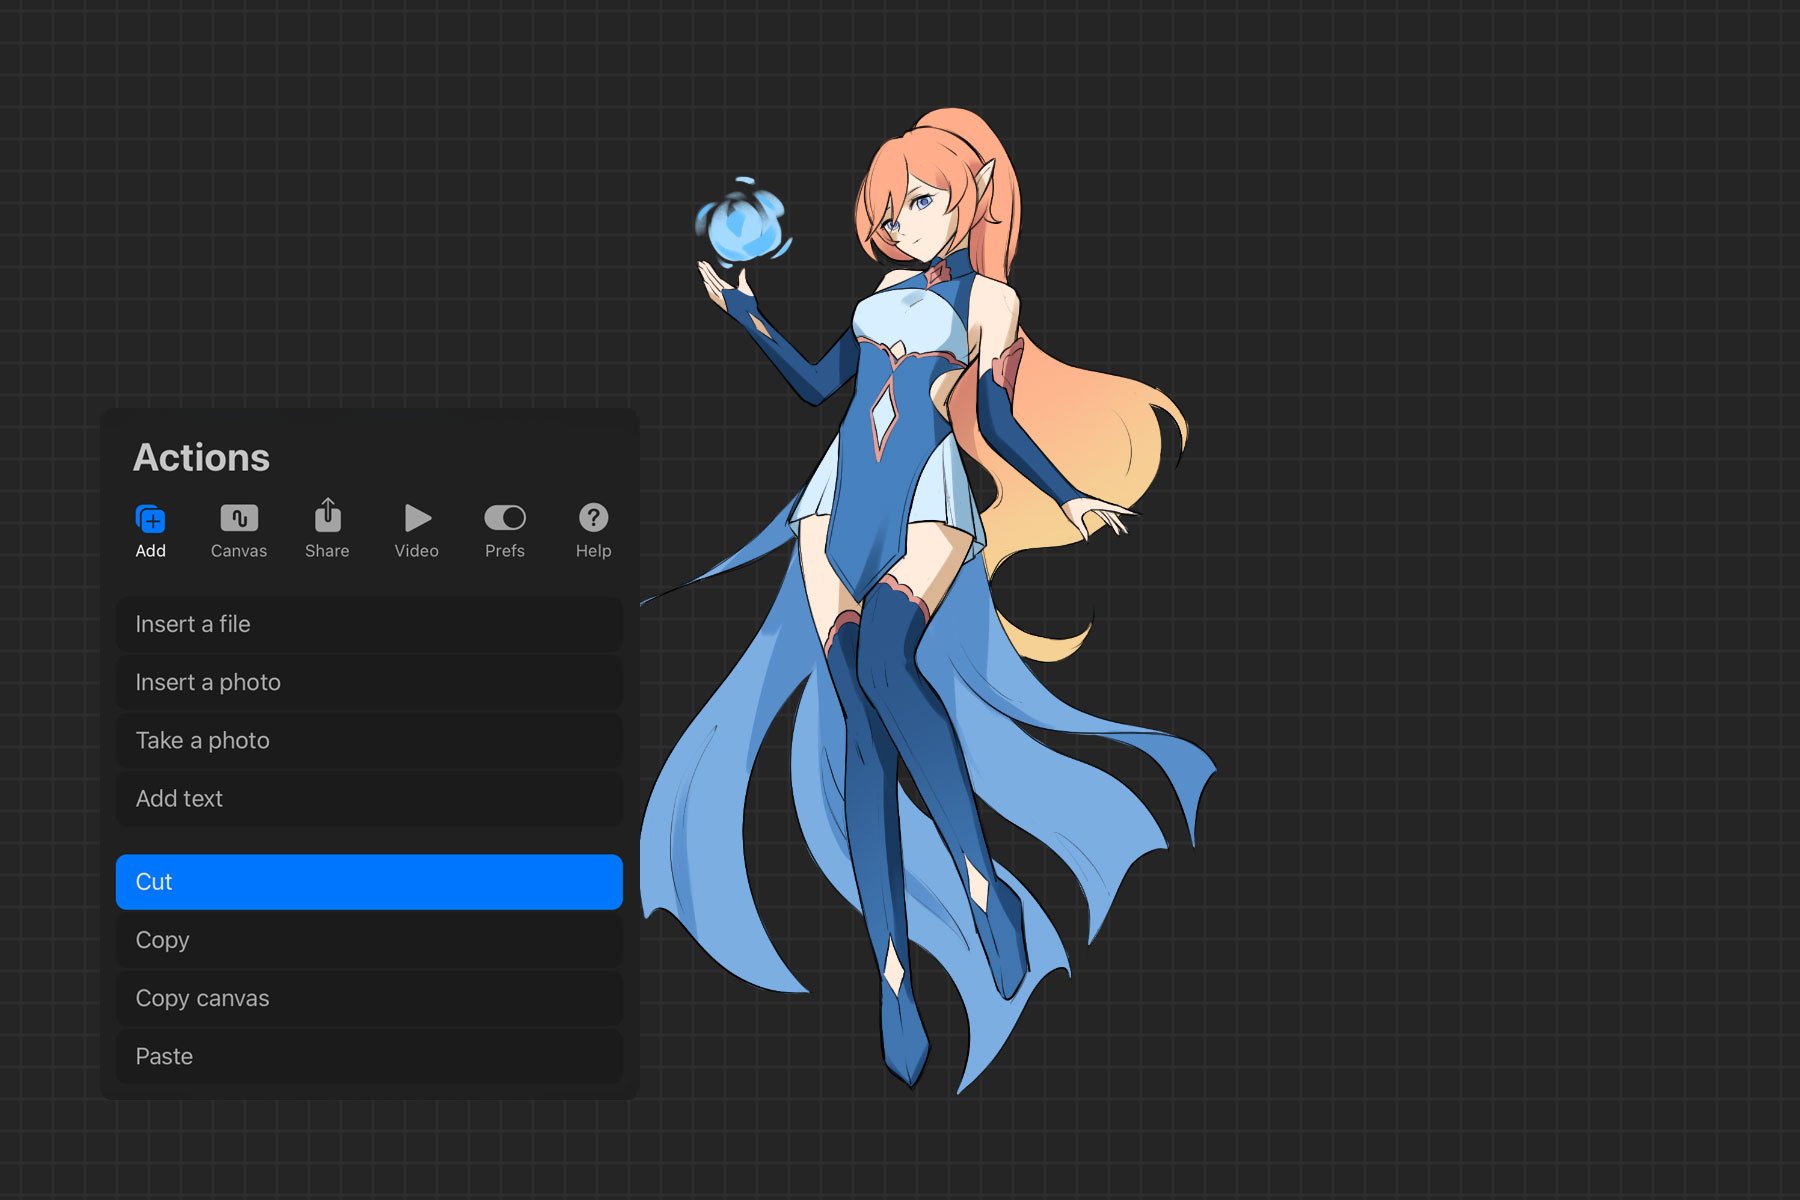
The task to remove background in Procreate shouldn't feel like a puzzle, yet the app surprisingly lacks a single "delete background" button. To get a clean, transparent look for stickers or social media, you have five reliable options: hiding the Background color layer, using Automatic Selection, tracing with Freehand tools, using the iPad's Subject Lifting feature, or manual Eraser cleanup. Once you've isolated your subject, exporting as a PNG is the final essential step to keep your work transparent.
Quick Answer: The fastest way for photos is to use the iPadOS Subject Lifting trick. If you drew the art yourself, simply untick the Background color box in your Layers panel.
Before you start: 3 things to know about Procreate and backgrounds
Before you dive into the menus, you need to understand how the app handles transparency.
There is no "Magic Wand" button: Unlike some desktop software, Procreate background layer removal requires a manual selection or a layer adjustment to reveal transparency.
Photos vs. Drawings: If you imported a photo, the background is "baked" into the pixels. If you drew the art on a new canvas, the background is a separate toggle.
Only PNG export keeps your background transparent: If you save your work as a JPG, Procreate will automatically fill your transparent areas with solid white.
Which method should you use?
Choosing the right tool depends on your workflow and the source image you are using. Here’s a cheat sheet on how to decide what suits you best:
If you drew art from scratch on a blank canvas, go for Method 1: Hide Background Layer.
If you have a photo or logo on a solid white or flat color background, try Method 2: Automatic Selection.
If you are dealing with a complex photo featuring a busy, multi-colored background, use Method 3: Freehand Selection.
If you notice tiny leftover pixels or "fringe" around your subject, choose Method 4: Eraser Cleanup.
If you are working with a photo currently sitting in your iPad’s Photos app, go with Method 5: Subject Lifting (Fastest).
Method 1 — Hide the Background Color layer
Best for: Art you drew in Procreate.
If you started with a blank canvas and drew an illustration, the white you see isn't actually part of your drawing — it’s a default "filler" layer.
Open your artwork and tap the Layers icon (two stacked squares, top-right of the canvas).
Scroll to the very bottom of the Layers panel.
Find the layer labeled Background color.
Untick the small checkbox on the right.

- Make sure your canvas now shows a grey-and-white checkerboard pattern. This indicates the area is transparent.
- Export as PNG.
Note: This method does not work for imported photos because the photo's background is baked into the image pixels. It’s not the separate layer.
Method 2 — Automatic Selection + Cut
Best for: Flat-color backgrounds (like a logo on a white square).
- Open the Layers panel and ensure your image layer is selected.
- Tap the Selection tool (the S-shaped ribbon icon).
- Tap Automatic in the menu at the bottom of the screen.

- Tap once on the background color you want to remove. Procreate will highlight all the connected pixels of a similar color in diagonal stripes.
- Without lifting your finger or Pencil, slide right to select more similar color pixels (increase threshold) or left to select fewer (decrease threshold). Watch the Selection Threshold percentage at the top of the screen. Stop before it eats into your subject.

- Tap the Actions menu (wrench icon, top-left), tap Add, and select Cut.
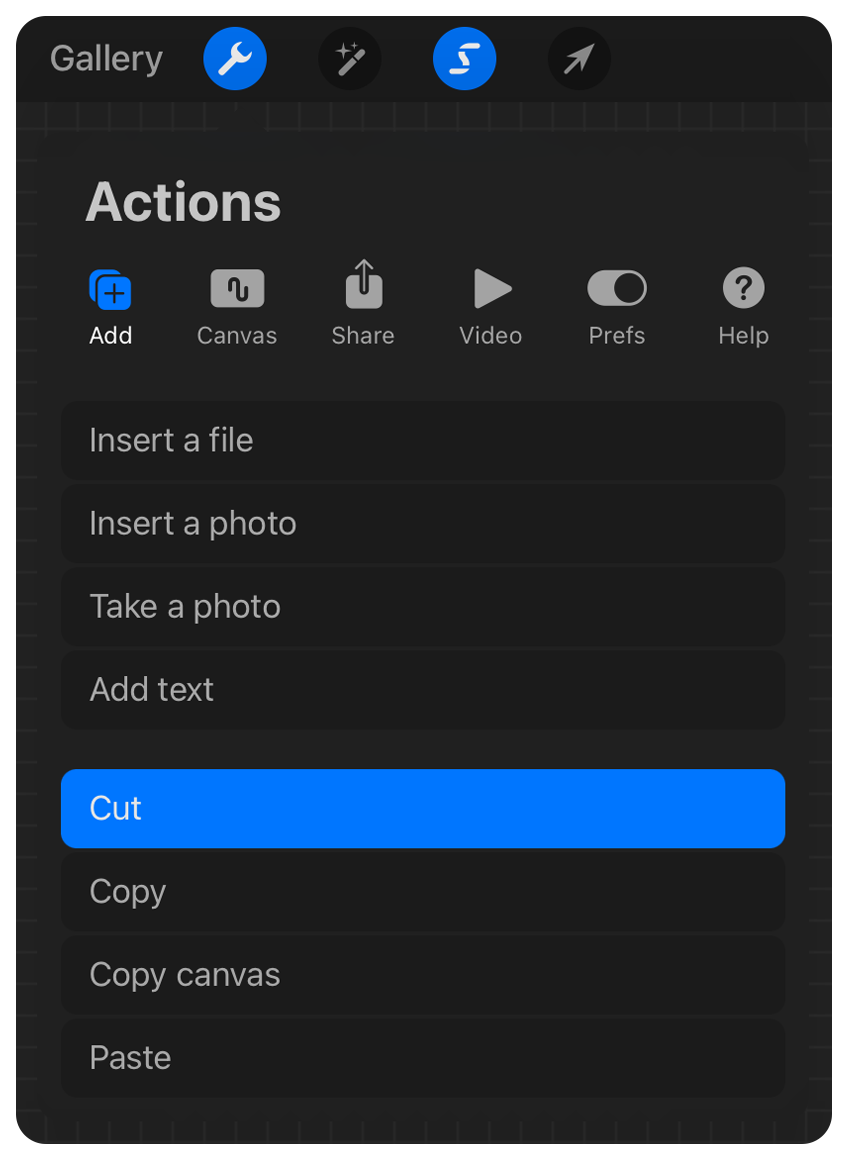
- Ensure the background is gone. It should be replaced with the checkerboard pattern to indicate the transparent area.
- Export as PNG.
ProTip: If your subject and background share similar colors the Automatic setting will likely eat into your artwork. In such cases, it is best to remove background using Method 3 (Freehand) or Method 4 (Eraser) for better precision.
Method 3 — Freehand Selection + Invert + Cut
Best for: Busy photographic backgrounds or "noisy" images.
When a background has too many colors for Automatic to handle, you have to trace it.
Tap the Selection tool (S icon).
Tap Freehand in the bottom menu.
Trace around your subject (not the background!).
Close the loop by tapping the grey circle at your starting point.
Tap Invert at the bottom of the screen. Now, the background is selected instead of your subject.

- Perform a three-finger swipe down on the canvas to open the Copy/Paste menu.
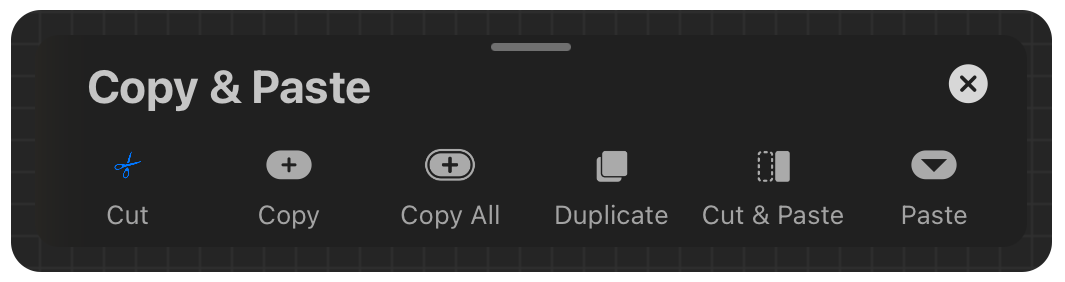
- Tap Cut.
- Ensure there's a checkerboard pattern instead of the background. It indicates transparency.
- Export as PNG.
ProTip: Pinch outward to zoom in for better accuracy. You can tap to create straight anchor points (useful around the corners of buildings, packaging, etc.) or draw smoothly for curves.
Method 4 — Clean up edges with the Eraser
Best for: Removing "fringe" pixels left over from other methods.
Sometimes, Automatic or Freehand leaves a thin, jagged line around your subject. Here’s the recipe for how to deal with it.
Tap the Eraser tool (top-right area of the toolbar).
Choose the Hard Airbrush from the Airbrushing set. It ships with Procreate by default.
Adjust the brush size using the top slider on the left.
Manually erase any stray pixels. You may tap the Reference option in the Layers panel to lock eraser to a specific layer. It helps if you have a complex project with multiple layers.
Export the result as PNG to keep background transparent.
Pro Tip: If you do this kind of cleanup often, our Essential Liner Brushes include hard-edged ink brushes that double as precise, high-pressure eraser shapes. Actually, every Procreate brush can be used as an eraser.
Method 5 — Lift the subject straight from your iPad's Photos app
Best for: Speed. This uses iPadOS logic to make Procreate cut out subject tasks instantly.
Requirement: iPadOS 16 or later and an A12 Bionic chip or newer.
Open the Photos app and find your image.
Touch and hold the subject of the photo until a glowing outline will ripple around it.
Keep holding the subject. Use another finger to swipe up from the bottom of your screen to show the Dock.
Tap and hold the Procreate icon to open it in Split View or Slide Over.
Drop the subject from Photos app onto your Procreate canvas.
It will appear on a brand-new layer with the background already removed.
Export as PNG.
ProTip: You may skip Split View by tapping Copy Subject in the Photos app long-press menu, instead of dragging it from app to app. Then switch to your canvas, perform a three-finger swipe down, and tap Paste to import the isolated image.
Note: Subject Lifting is fast, not flawless. Look closely at the video — lifted edges often keep a faint white halo or a strip of color fringing where the old background bled in, especially around hair and sharp curves. Give the outline a quick pass with the eraser from Method 4 before you export.
Bonus — Layer Mask
This non-destructive approach is suitable for advanced Procreate users: tap your layer and select Mask to hide pixels with black paint or reveal them with white. This way you remove background on Procreate canvas while keeping the original image fully intact. Learn more about mastering Procreate layer masks here.
How to export your art with a transparent background (PNG)
This is the most important step. If you save incorrectly, all your hard work is wasted.
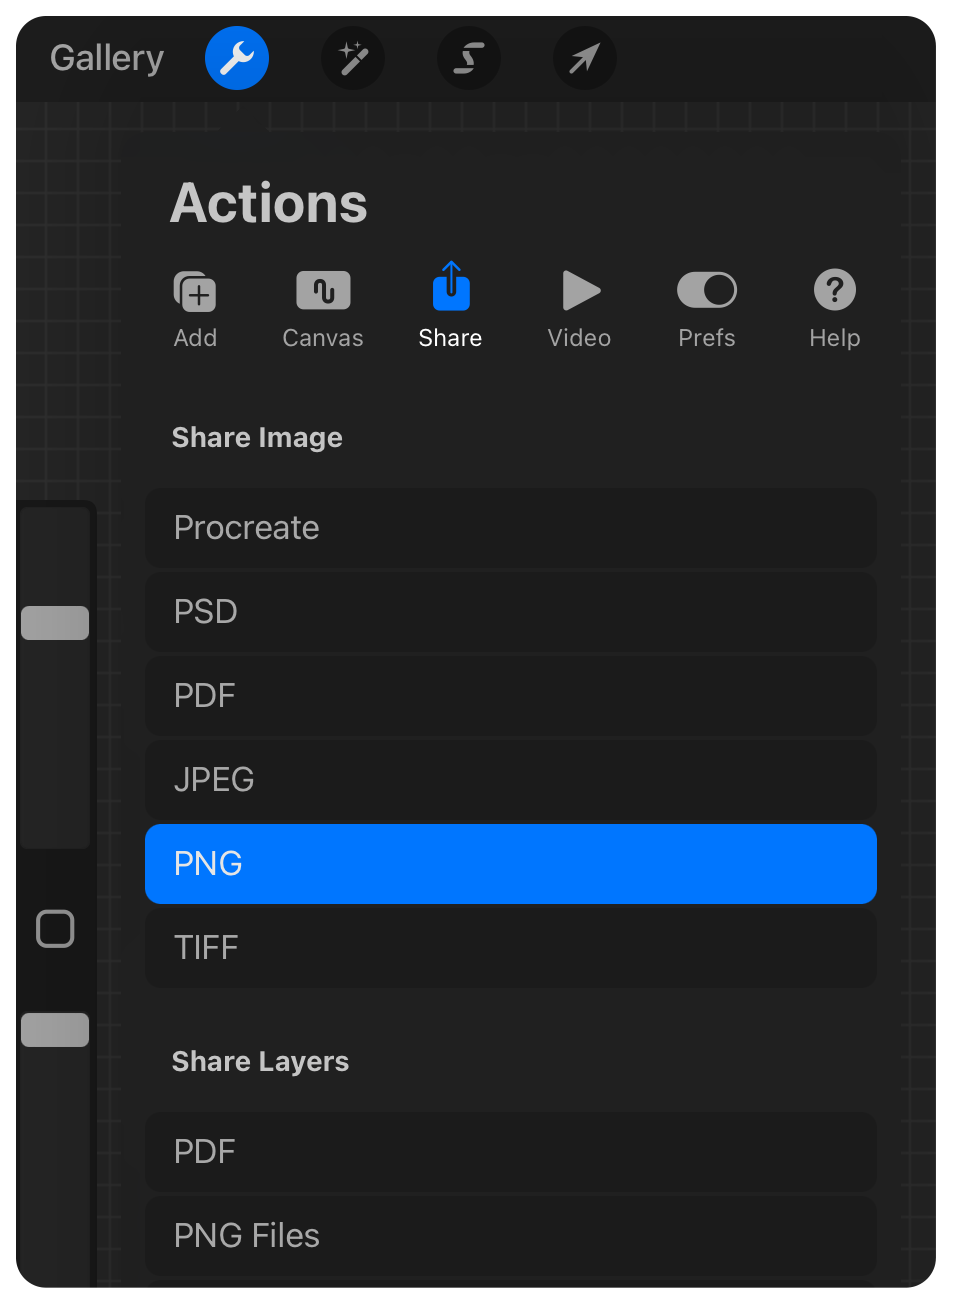
Ensure the Background color layer is removed and you see the checkerboard pattern.
Tap the Actions menu (wrench icon, top-left).
Tap Share.
Under the "Share Image" section, select PNG. It’s the only format that preserves transparency.
Save to Files, Photos, AirDrop, etc.
Why PNG? PNG files support an "alpha channel," which tells other apps that the empty pixels are invisible. A JPG does not have this capability and will turn your transparency back into solid white.
Common mistakes and fixes to remove background in Procreate
Exported as a JPG and lost the transparency: Selecting the wrong file format is a common reason your hard work disappears. Because JPEGs do not support alpha channels, the app automatically fills transparent areas with solid white. Always export as PNG to keep your cutout clean.
The background looks gone in Procreate, but reappears when shared: You likely exported as a JPG. Go back and select PNG.
Selection ate into the subject: Your Selection Threshold was too high in Automatic mode. Tap with two fingers to undo and try again with a lower percentage.
Checkerboard pattern shows up in print: If you see the grey-and-white grid on your physical product, you didn't actually remove the background; you likely just took a screenshot of the Procreate interface. Always use the Share > PNG method.
FAQs
-
Procreate does not have a dedicated "Remove Background" button. However, the Automatic Selection tool and the iPad’s built-in Subject Lifting feature let you isolate subjects and delete backgrounds in just a few taps, which is pretty close to the one-button solution.
-
Open the Layers panel, scroll to the bottom, and uncheck the box next to the Background color layer. This toggle reveals the Procreate transparent background, showing the standard checkerboard pattern. To maintain this transparency outside the app, you must export your final artwork specifically as a PNG file.
-
Yes, Procreate Pocket uses the same logic for creating a Procreate transparent PNG. The main difference is the compact UI; you will often find the Selection tool under the Modify menu or the wrench icon, depending on your version. The steps for Automatic and Freehand selection remain identical.
-
This usually happens for three reasons: the file was exported as a JPG, the Background color layer was still checked during export, or the artwork was flattened. To fix this, uncheck the background layer in your Layers panel to see the checkerboard pattern, then ensure you select PNG when using the Share menu.
-
Currently, there’s no such native feature in Procreate to remove the white background across multiple files at once. You must process each canvas individually. For large volumes of photos, using the iPad Photos app's "Copy Subject" feature and pasting into Procreate is the fastest workflow available.
Next steps
Now that your subject is on a transparent layer, you might notice the edges look a bit raw or need some depth. Most artists use this moment to add clean line work or realistic shadows to ground the object. Having access to a specialized library like 1000+ Procreate Brushes simplifies this part of the process, offering the exact textures and liners needed for professional workflows. Getting those final details right after you remove the background in Procreate makes the transition from a simple cutout to a finished illustration much smoother.